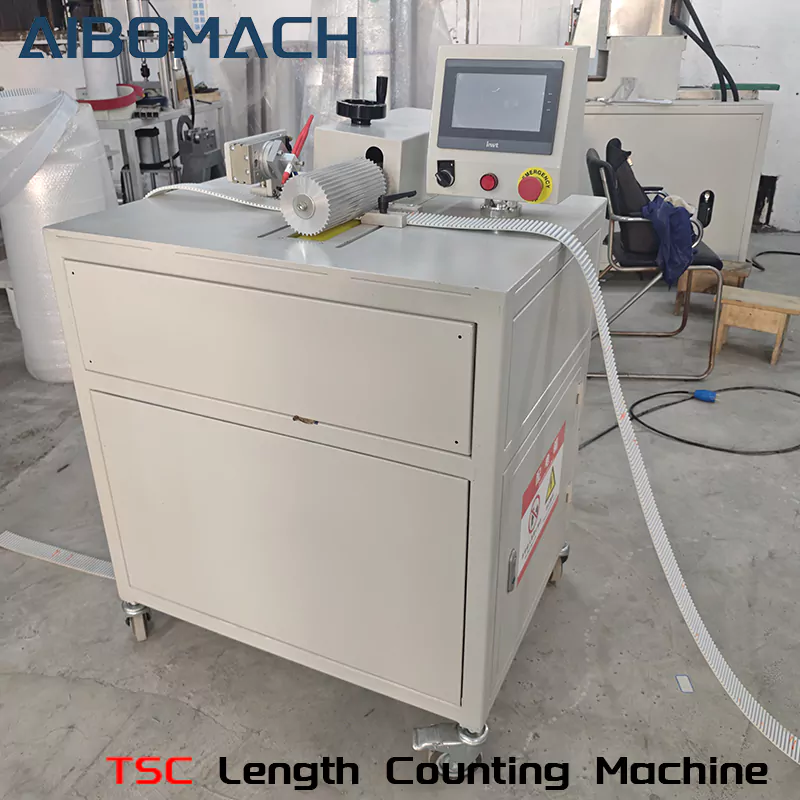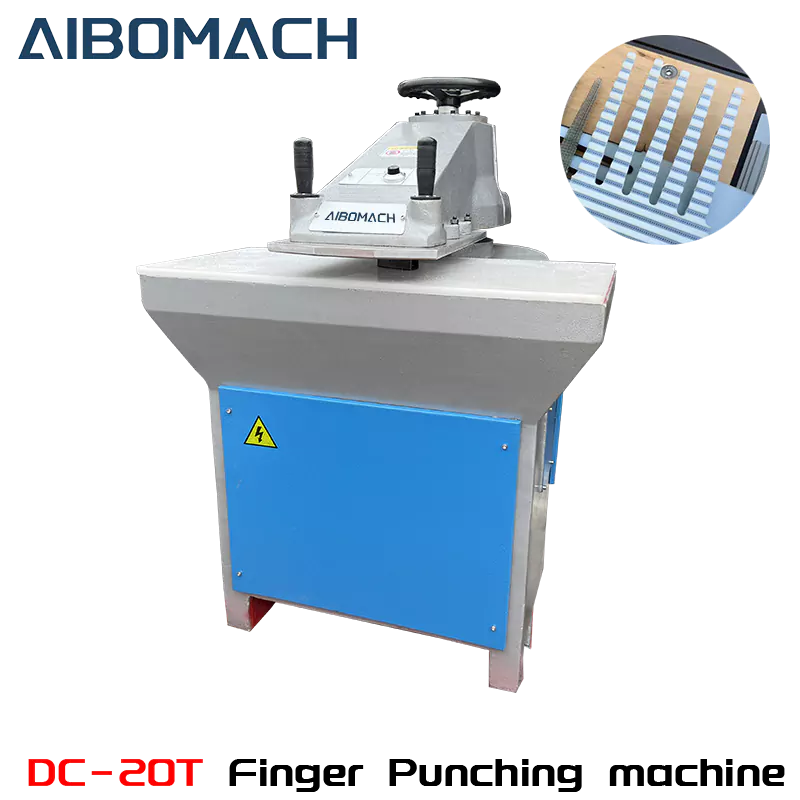
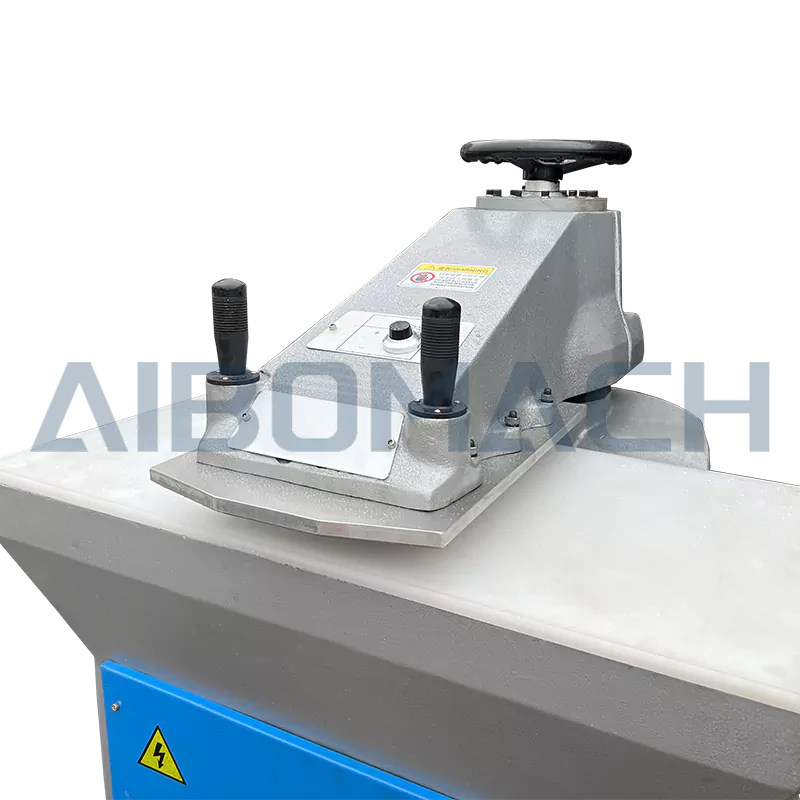
Machine Details Images
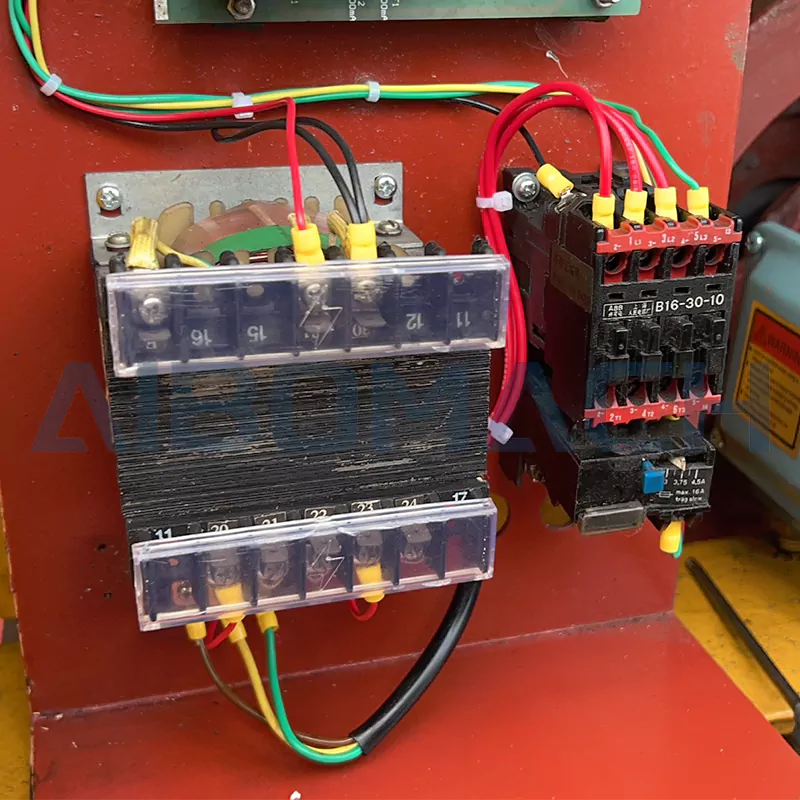
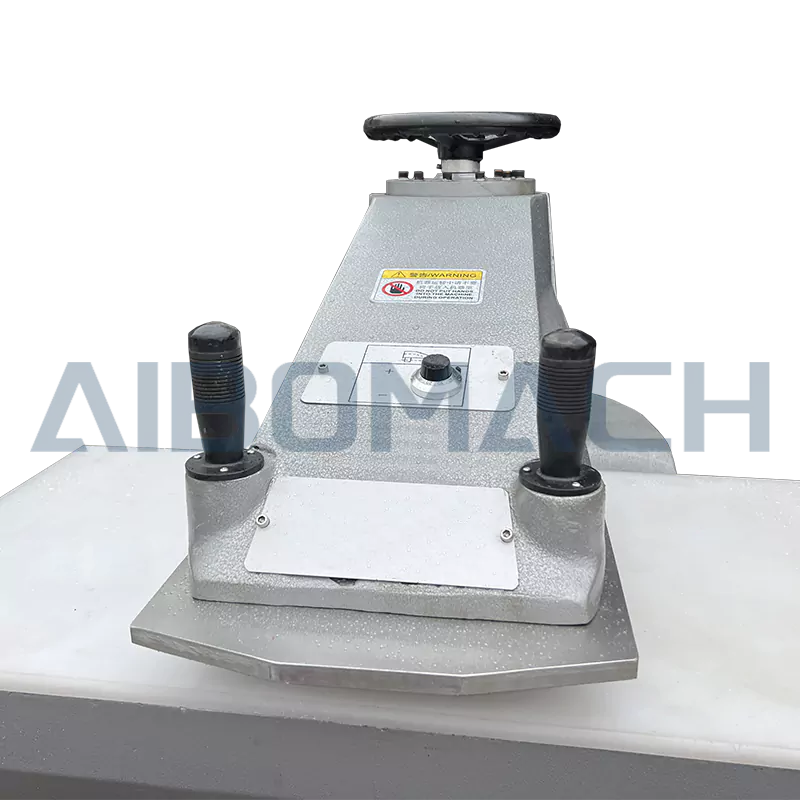
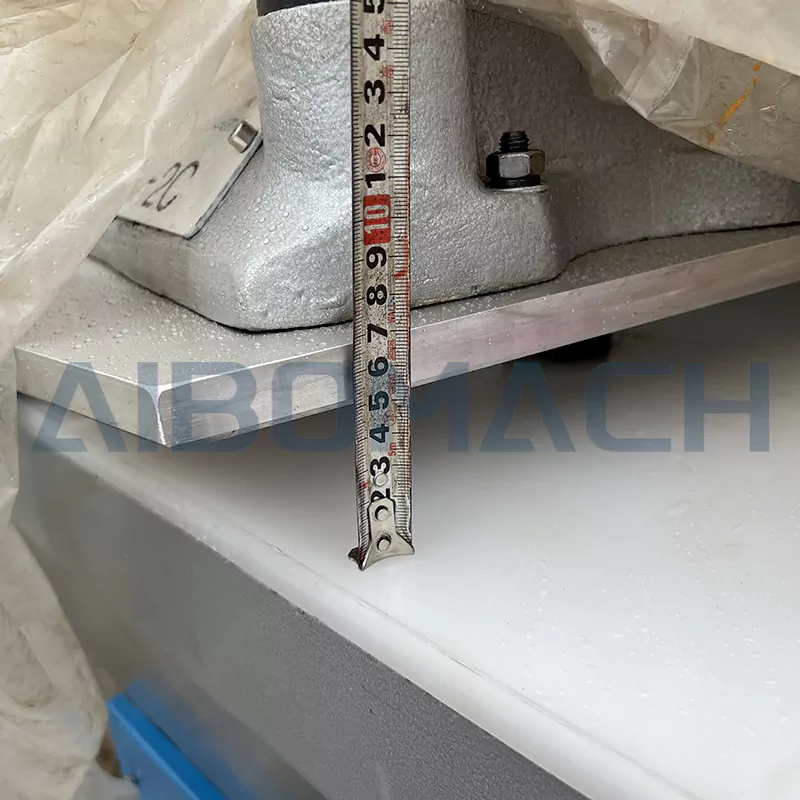
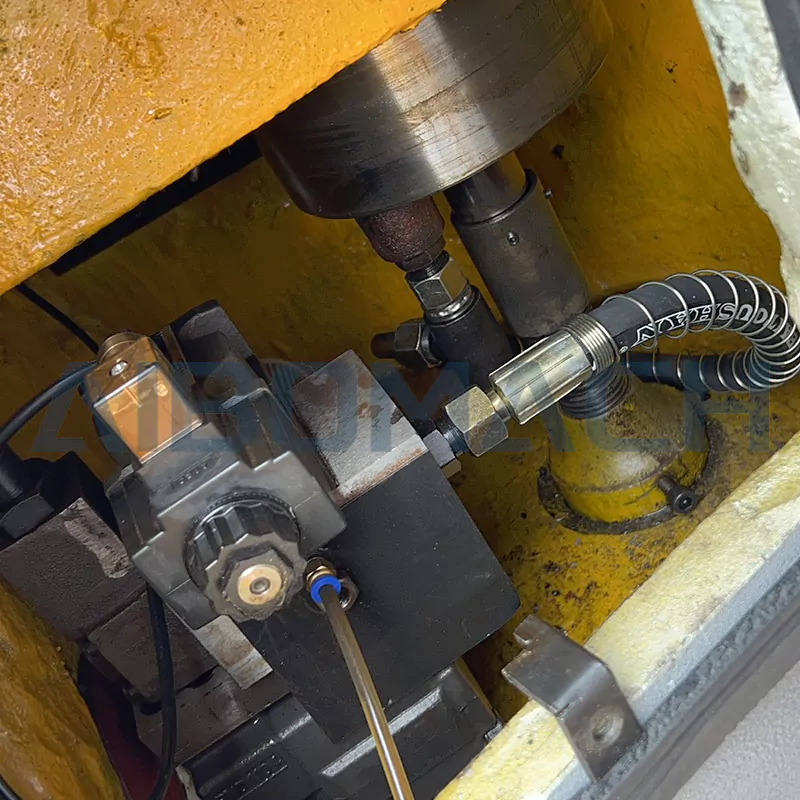
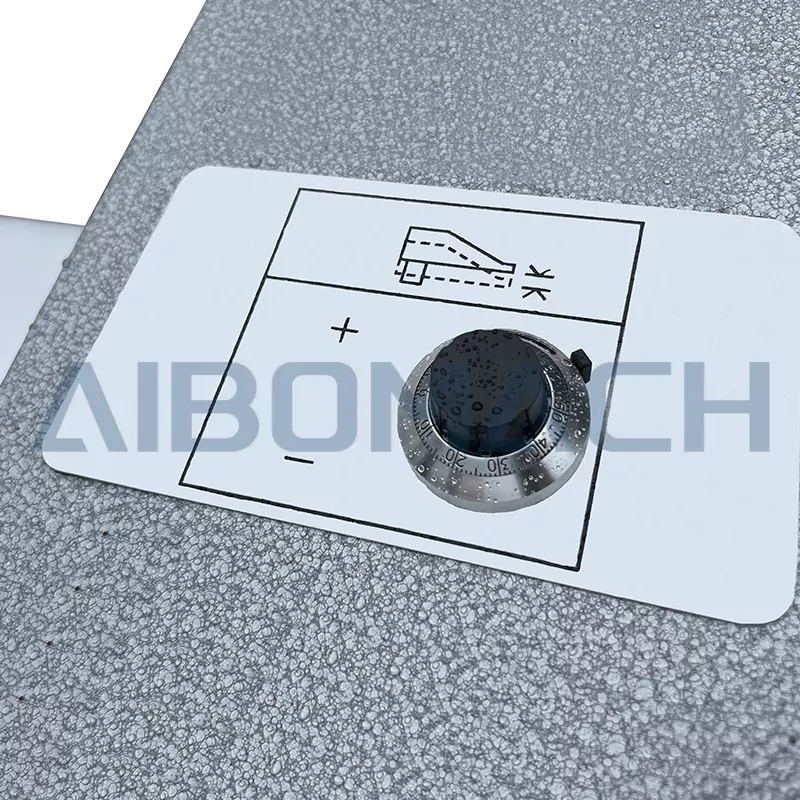
Machine Accessories Images
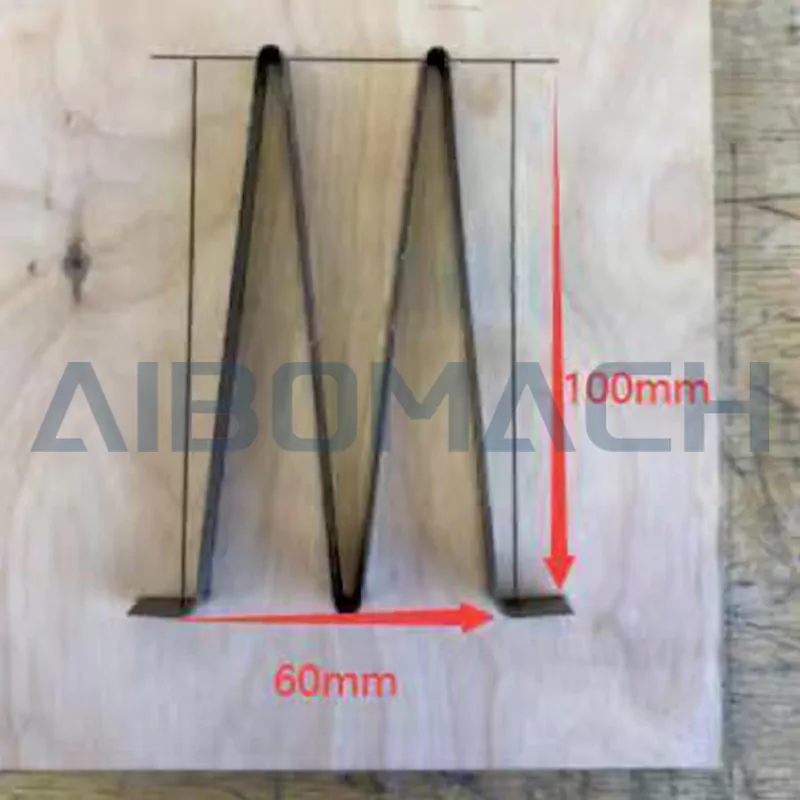
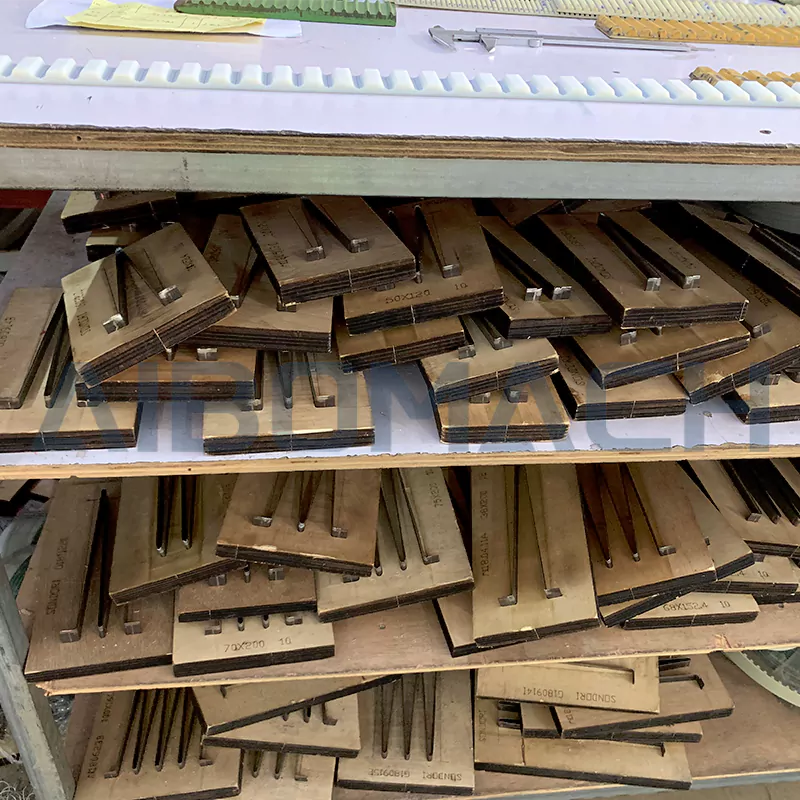
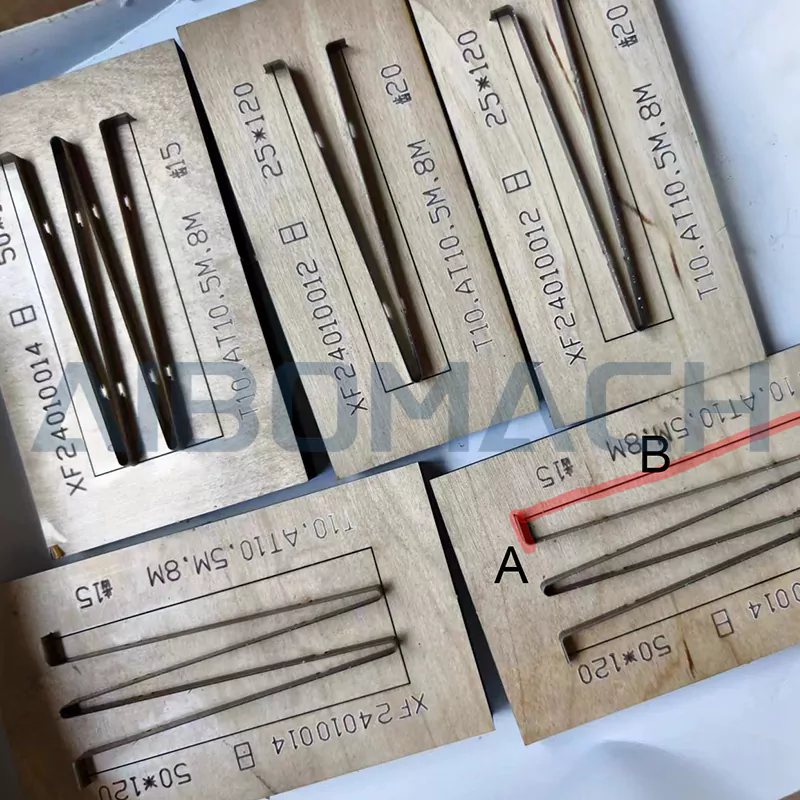
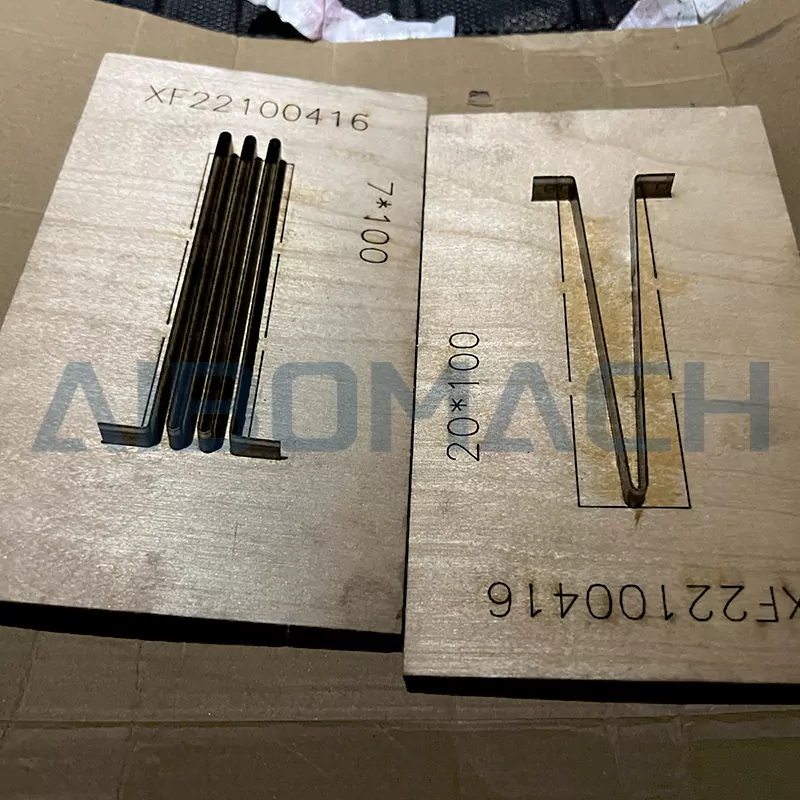
Appreciation of Timing Belts
Machine Videos
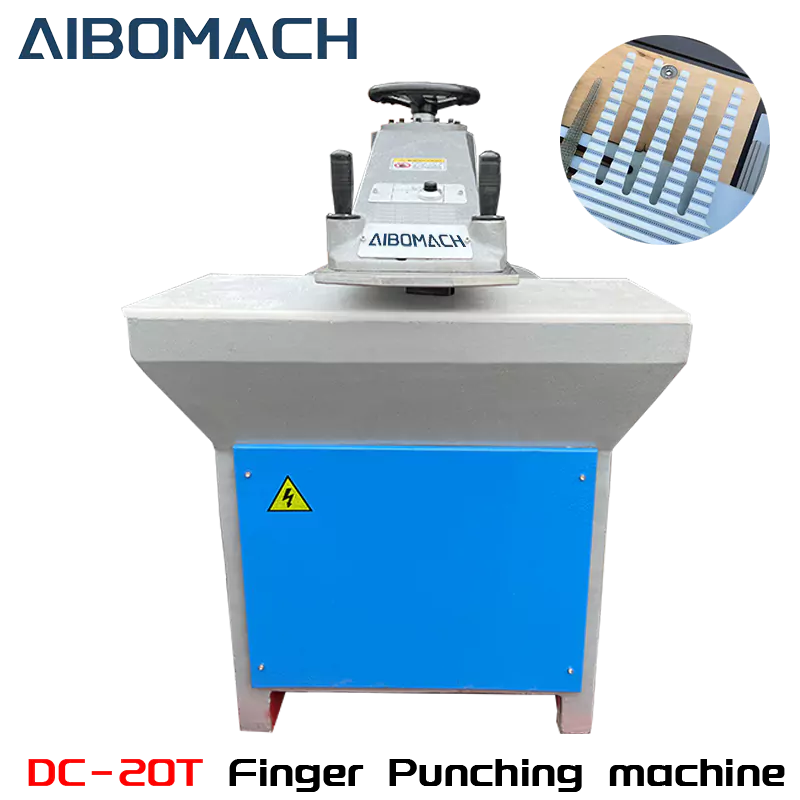
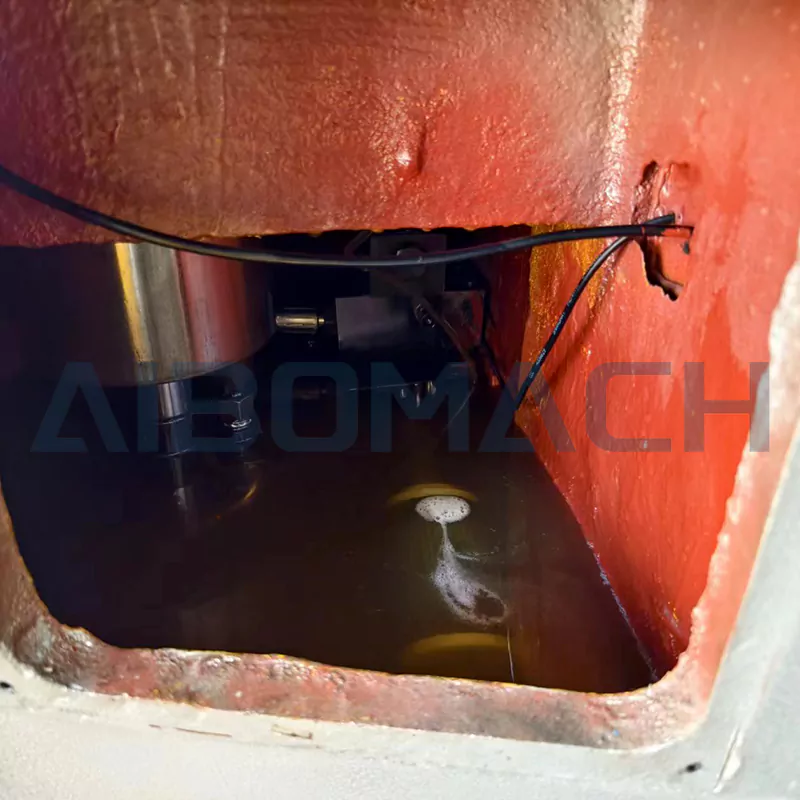
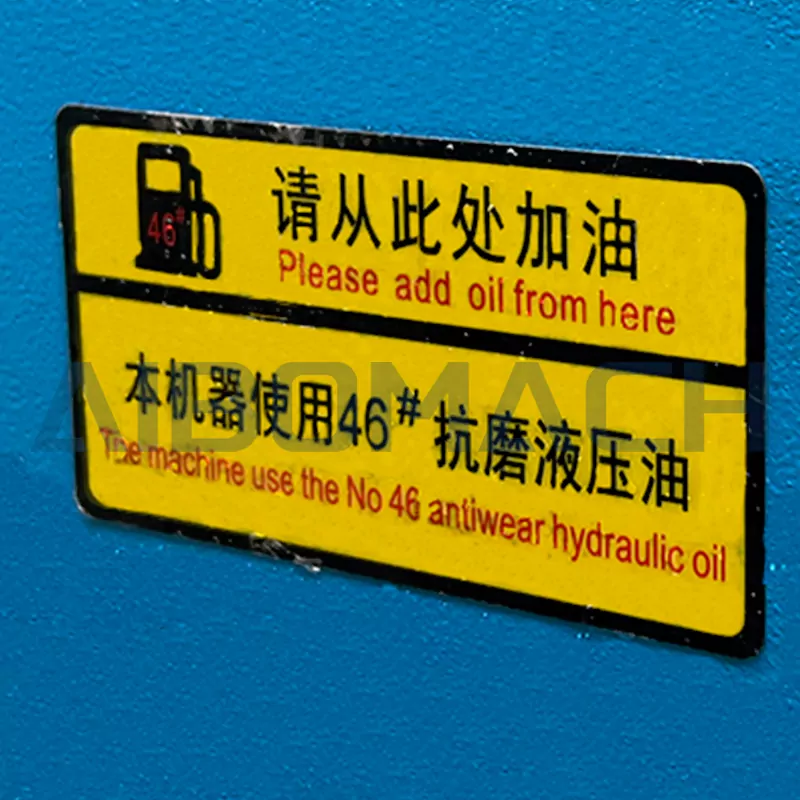
Due to the flammability of the oil, when we ship this machine, we will drain all the hydraulic oil inside. After receiving the product, you will need to add the hydraulic oil yourself in order to use it. Do not start the machine when the fuel tank is empty.
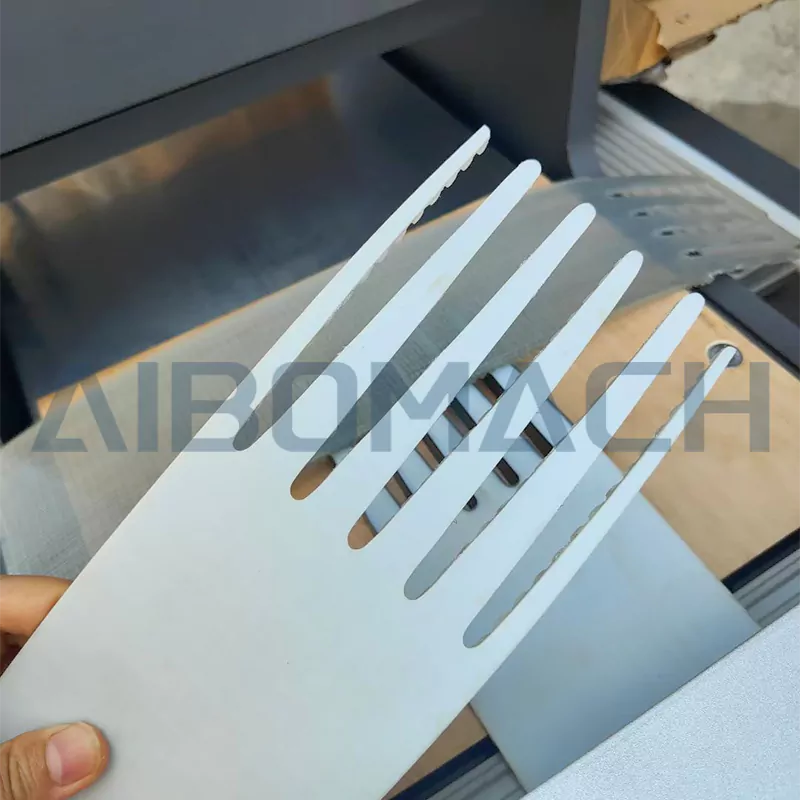
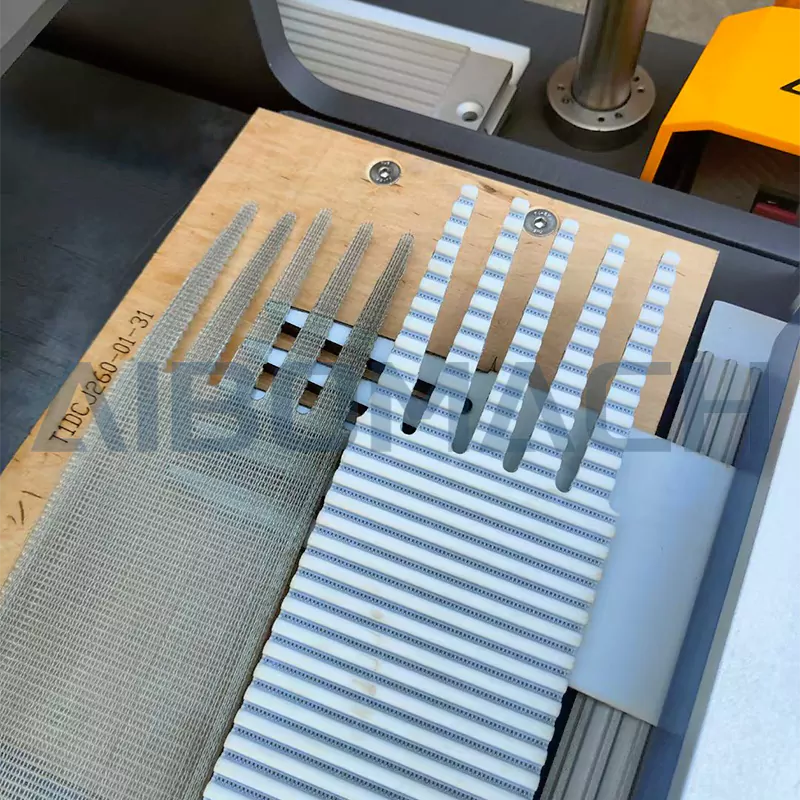
Why do we punch finger before belt joint?
Notching a conveyor belt (i.e., cutting a zigzag or stepped pattern at the splice area) before splicing is primarily done to enhance splice strength, improve bonding effectiveness, and ensure flexibility and durability at the joint. The specific reasons are as follows:
1.Increased Bonding Area for Higher Splice Strength
Notching transforms the splice surface from flat to a zigzag or stepped shape, significantly increasing the bonding area.
Adhesive or vulcanizing material can better fill the notches, creating a stronger mechanical interlock and reducing reliance solely on adhesive strength.
Ideal for high-tension, heavy-load belts (e.g., steel cord belts in mining or port applications).
2.Distributes Stress, Reducing Splice Failure Risk
Flat splices concentrate stress at the edges, leading to peeling or cracking.
A notched splice distributes stress across multiple teeth, preventing localized stress points and extending splice life.
3.Improves Flexibility, Reducing Wear During Operation
A notched or stepped splice is more flexible than a straight splice, allowing better adaptation to bending over pulleys.
Reduces fatigue or delamination caused by repeated flexing.
4.Compatibility with Different Splicing Methods
Vulcanized Splices: Stepped notching improves vulcanization, allowing rubber to penetrate fully for a uniform bond.
Mechanical Splices: Some mechanical fasteners (e.g., bolt hooks) require notching for better grip.
Machine Parameters
| Model | DC20T |
| Blanking force | 20T |
| Stroke range | 20~140mm |
| Power of Motor | 1.5KW |
| Cutting area | 1000*500mm |
| Machine Size | 950*1000*1380mm |
| Voltage | 1PH 220V / 3PH 380V |
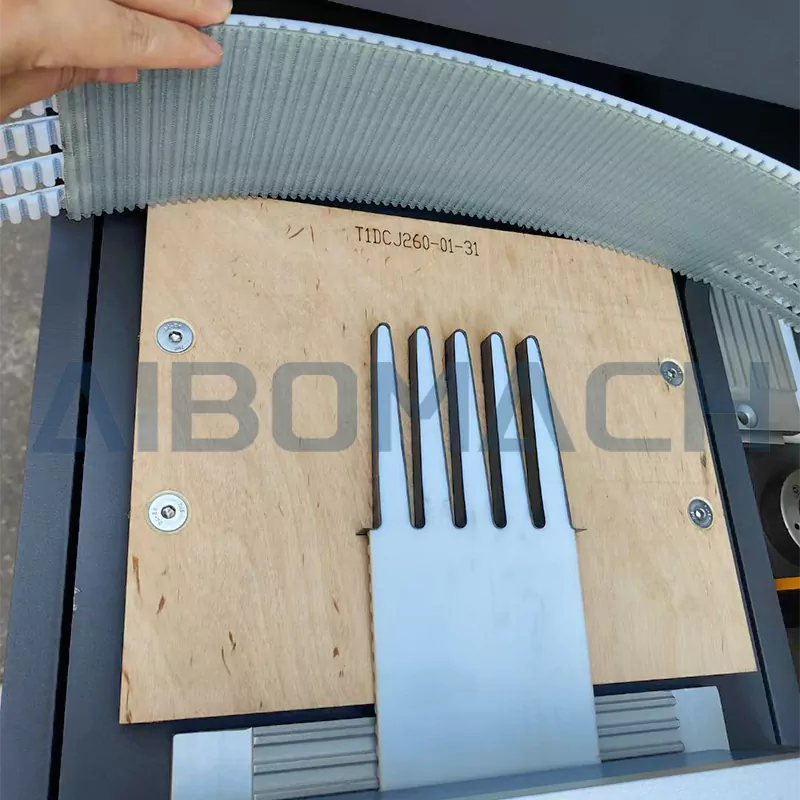
One convenient feature of this machine is that we can mark points to punch the finger of the belt. This punching method of this machine is very material-efficient and rarely generates waste.
1st step, you need to punch the first finger as long as you can print out the complete first tooth pattern, that will be fine. Make sure that both sides of the belt and the top remain straight.
2nd step, Make a fixed marking point at a location on the finger cutting board that you can easily identify. For example: We usually use the edge of the gear plate as the marking point.
3rd step,The position of the marking point on the corresponding machine is used to mark the first point on the belt as the origin of the length measurement.
After going through the above three steps, we obtained the two most important marking points and the first complete finger.
4th step,Measure the length of the belt you need. Remove the belt and start measuring from the first marking point on the belt as the zero point for the length unit. Measure the size of the endless belt you need. For example, if you need a 1000mm long endless belt, measure 1000mm from the 1st marking point and mark the second point on the position of 1000mm length.
Following this pattern, you can measure the second 1000mm endless belt starting from the 2nd marking point.
then , the 3rd ,4th ,it is same.
5th step,Put the belt back into the machine. This machine has a hollow design in the middle, so you can simply pass the belt through the middle and then use the fixed marking points on the cutting plate to correspond with the marking points on the belt (the 2nd mark point at the first 1000mm position), then punch the belt ,you will get the first 1000mm timing belt you need.
From this, we can proceed to obtain the 2nd,3rd,4th timing belts.
So, do you understand how to use the length counting machine in combination? Yes, it's by using the marking points made by the length counting machine. You don't need to measure manually. The counting machine does it for you. All you need to do is to match these marking points with the fixed marking points on the machine, and you can complete the measurement and finger punching work for hundreds of belts in a short time very easily.